
mm8
INSTRUCTION SAMPLES
FULL ON-LINE INSTRUCTIONS WITH
LARGE PICTURES & GRAPHICS
This page contains some of the instructions as examples
Click on the link below to see the On-Line instructions
(The on-line instructions are under construction and will have up dates
often)
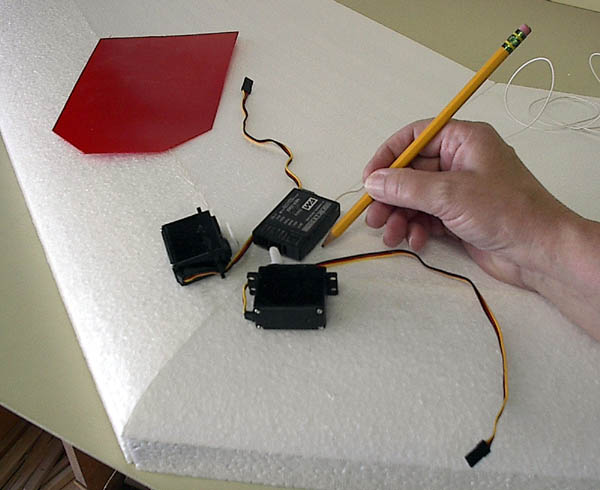
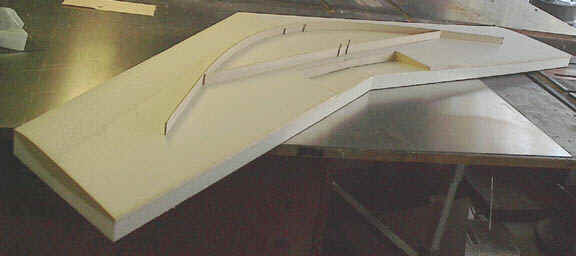
Out line the position of the servos and receiver and out line the center spline
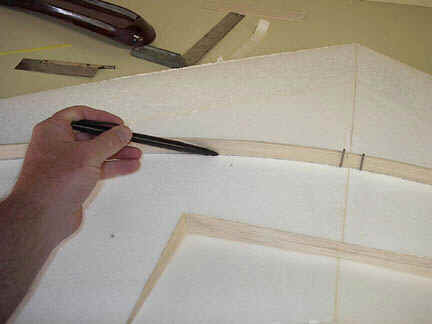
Draw a line using the bowed spar as your guide to cut or drimel your grove.
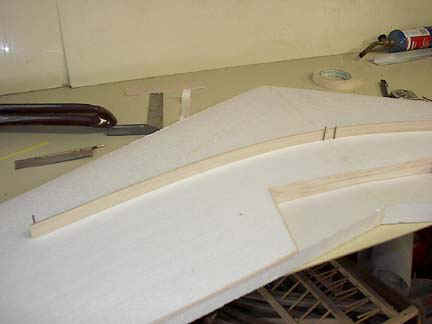
INSTALLING THE SPAR
The spar is designed to be loaded
by pre bowing. First place the cores in the top bed with the
bottom facing up. Make a mark approximately 10 inches from the nose
crossing the seam of the
two cores. Use 4 finishing nails small ones 1.5 inches long (thin). Insert
two at the center
marks and mark the center of the spar. Place the spar center behind the nails
and bow the spar until the ends of the spar bow .
Mark the curvature of the spar and remove the nails and spar. Make a 1/8 wide
and depth of the spar notch with razor blade or drimel or fine tooth saw. Dry fit the spar to
make sure spar is flush with bottom surface.
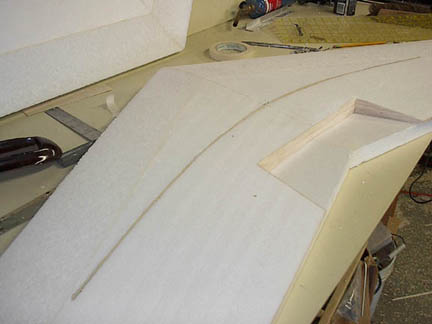
Additional spar options use the cross member along with the bowed
preloaded spar a must
with the hot thrust motor set up.
A bowed curved spar
is used to provide a loaded structural advantage.
This is a sample of the pictured instructions. A optional cross member to provide
additional spar structure is now included in the kit for set up's targeting more
speed.
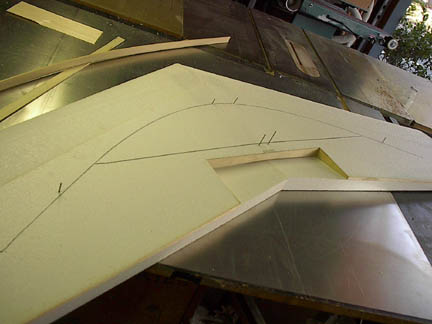
Draw bold line to make the slot for the spars. Pull nails and dry fit then glue.
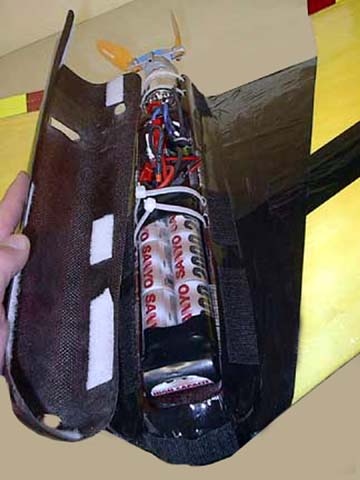
Motor, battery pack, speed control.
ON LINE INSTRUCTIONS
CLICK HERE!
|
|
|||
|
|
|
|
|